
Installation Guide
-
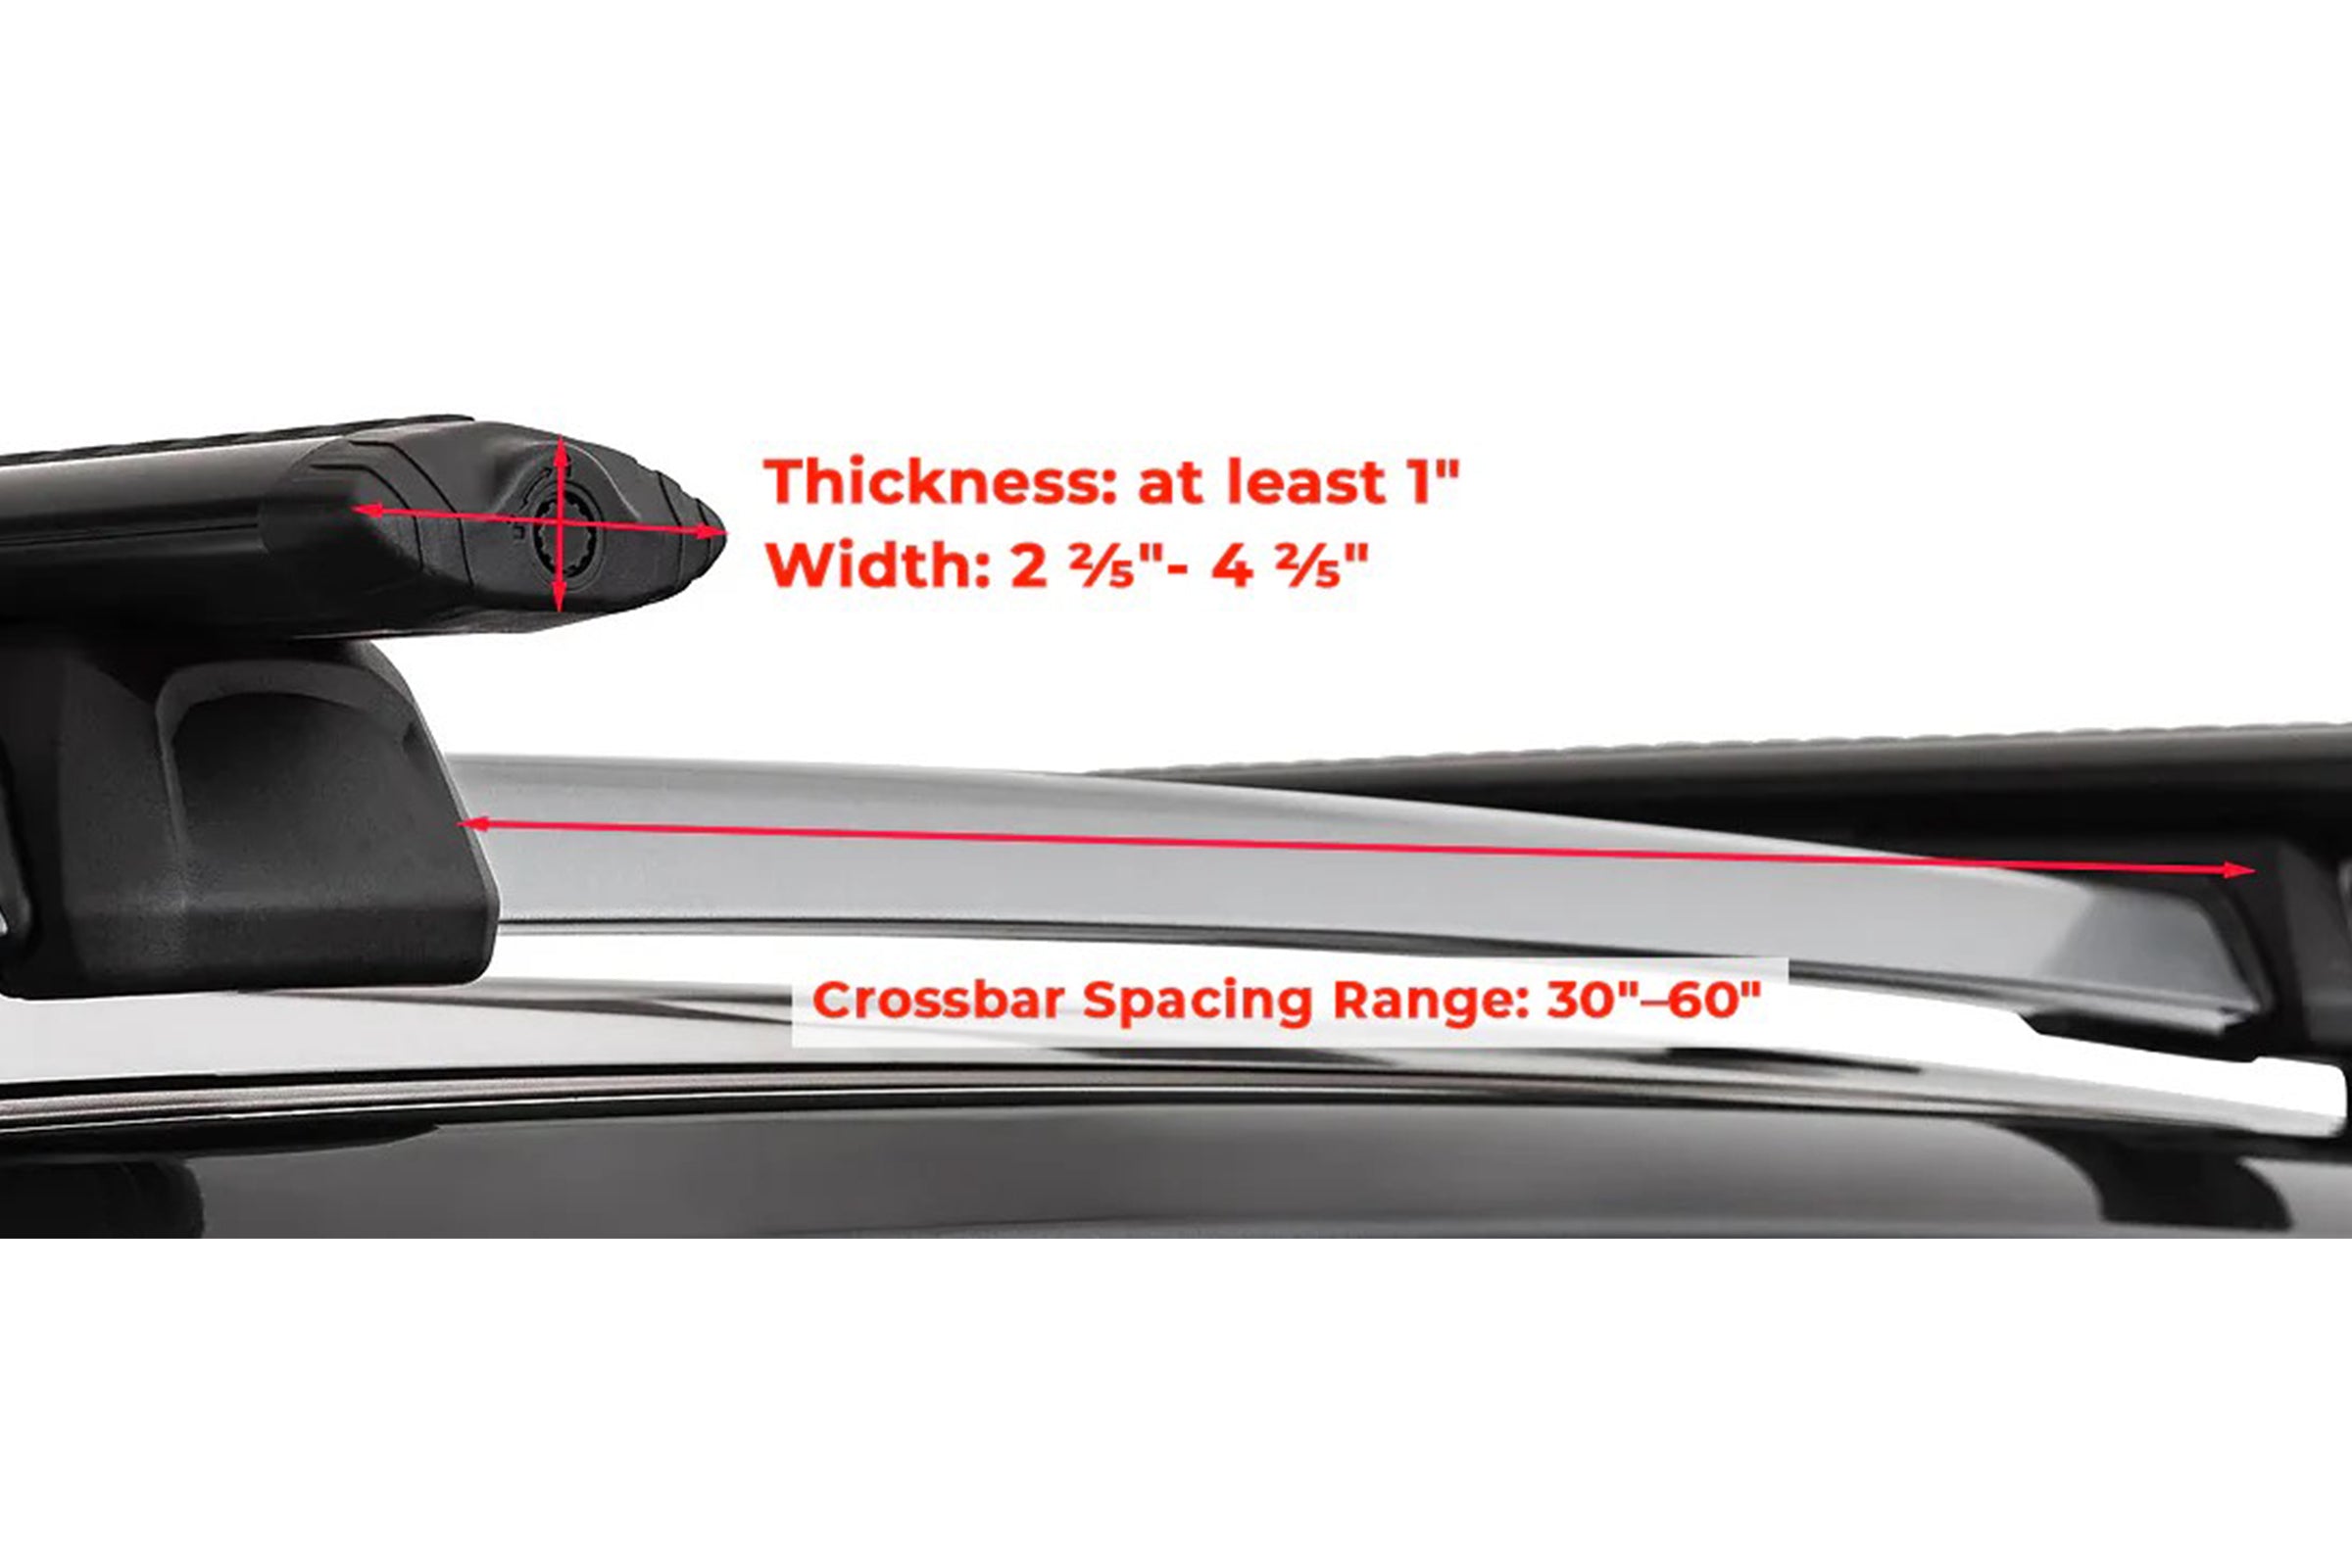
① How to choose Croosbar
• Crossbar Thickness: Each crossbar must be at least 1" thick.
• Crossbar Width: Each crossbar must be between2 ²⁄₅" inches and 4 ²⁄₅" inches wide.
• Crossbar Spacing: The distance between the crossbars must be from 30 inches to 60 inches.
• Dynamic Weight Capacity: An aerodynamic roof rack system with a dynamic load capacity greater than 176lbs (80 kg) can be safely installed. -
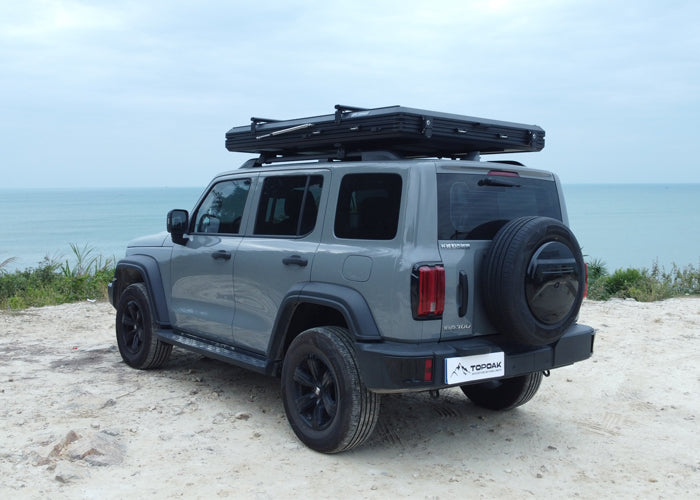
② Lift the tent
• Lift the tent onto your crossbars (you will need a friend or two) with the tent handle facing towards the rear of your vehicle, and the hinges at the front of your vehicle.
-
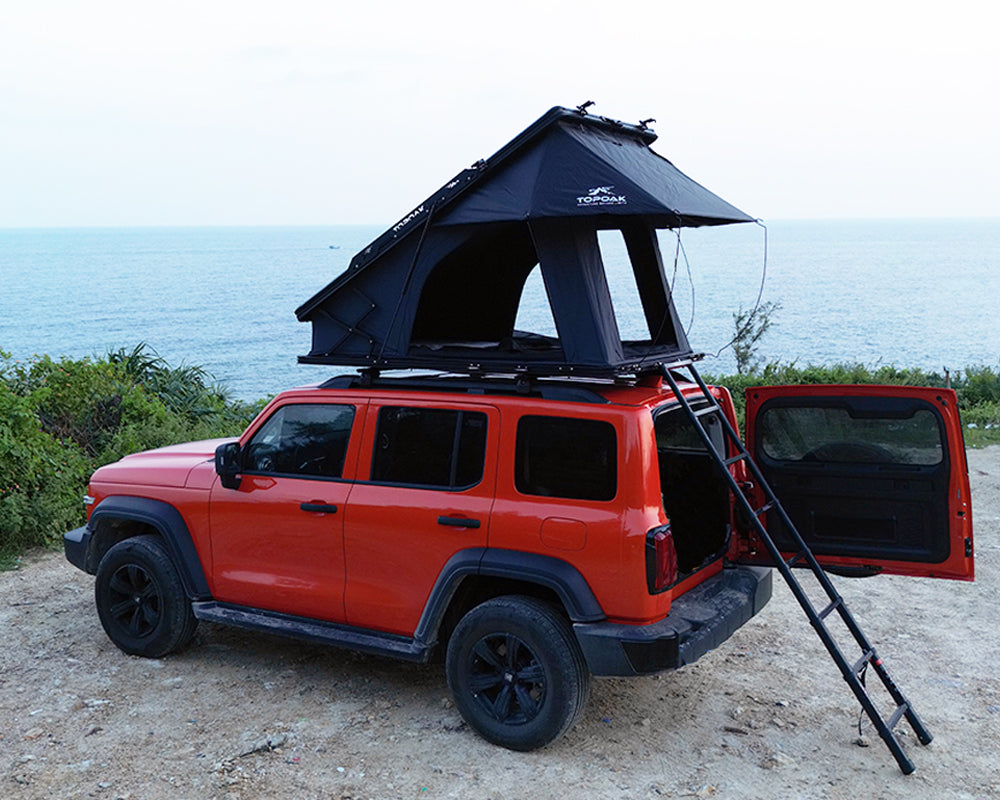
③ Positioning the Tent Correctly
Make Sure the tent is positioned approximately where you want it. Typically, if it looks right-it is! For SUVS and hatchbacks, open your truck and push the tent back until it just misses touching the open trunk. This allows you to be sure the tent won't interfere with your trunk's operation.
-
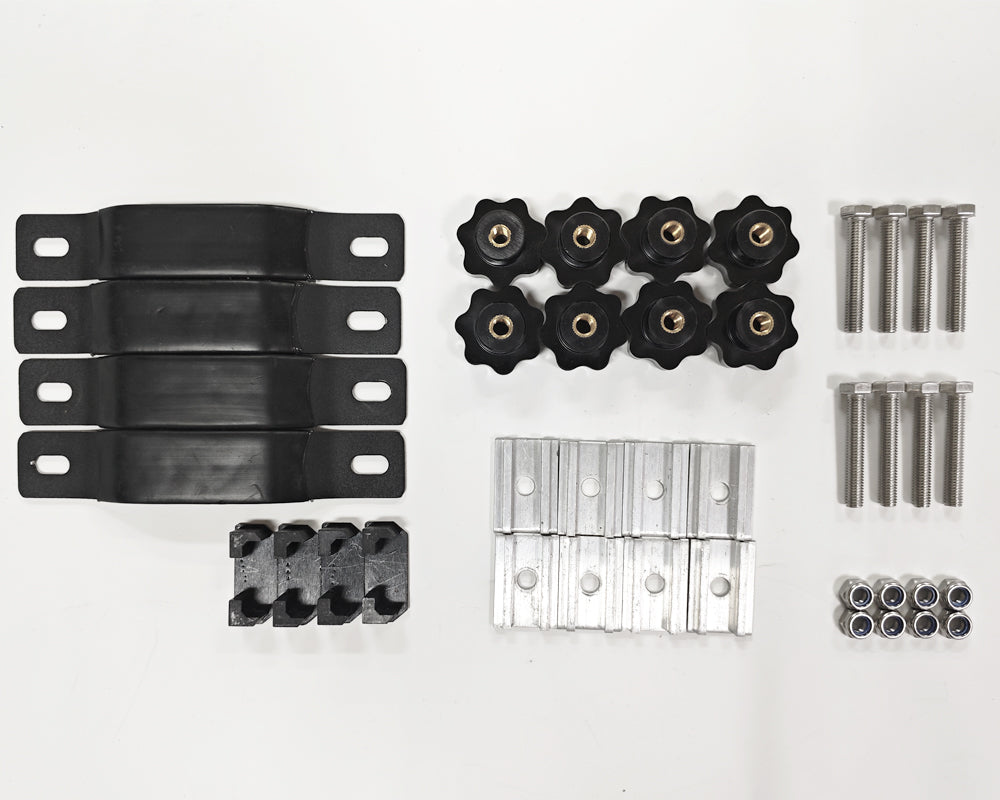
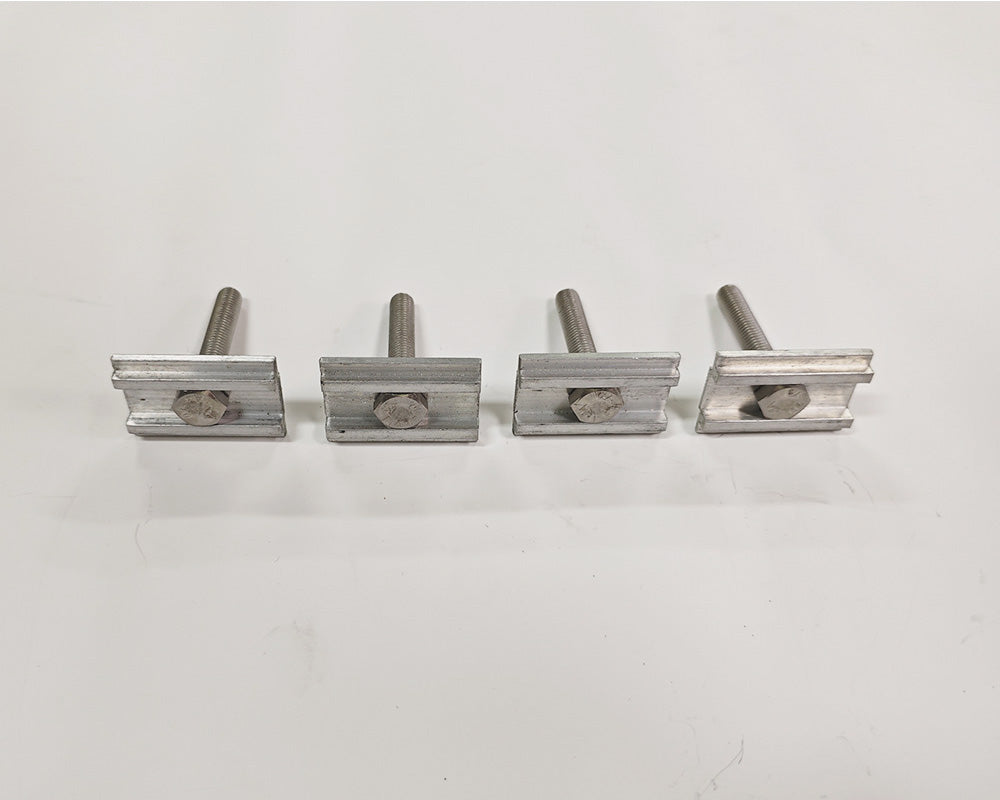
④ Prepare the mounting sets
Lay out all the parts from the installation kit.
-
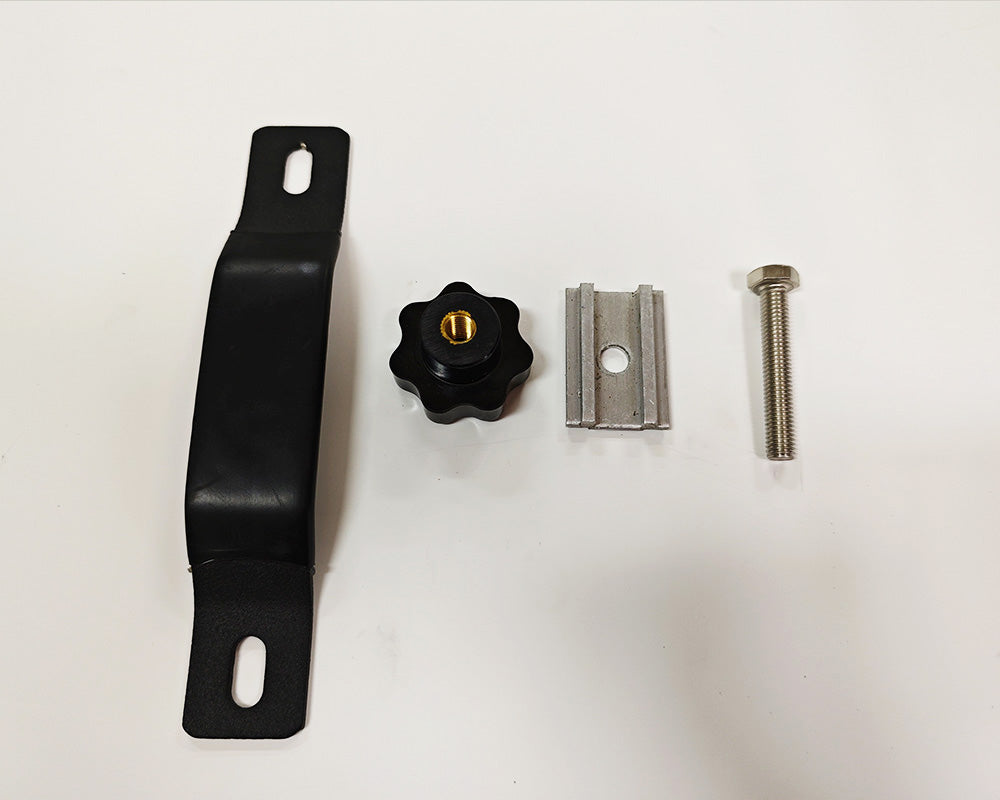
⑤ Preparing the Assembly Components
Take out one U bracket, one black quick-release nut , one mounting plate, and one M8 bolt, and get ready to assemble them together.
-
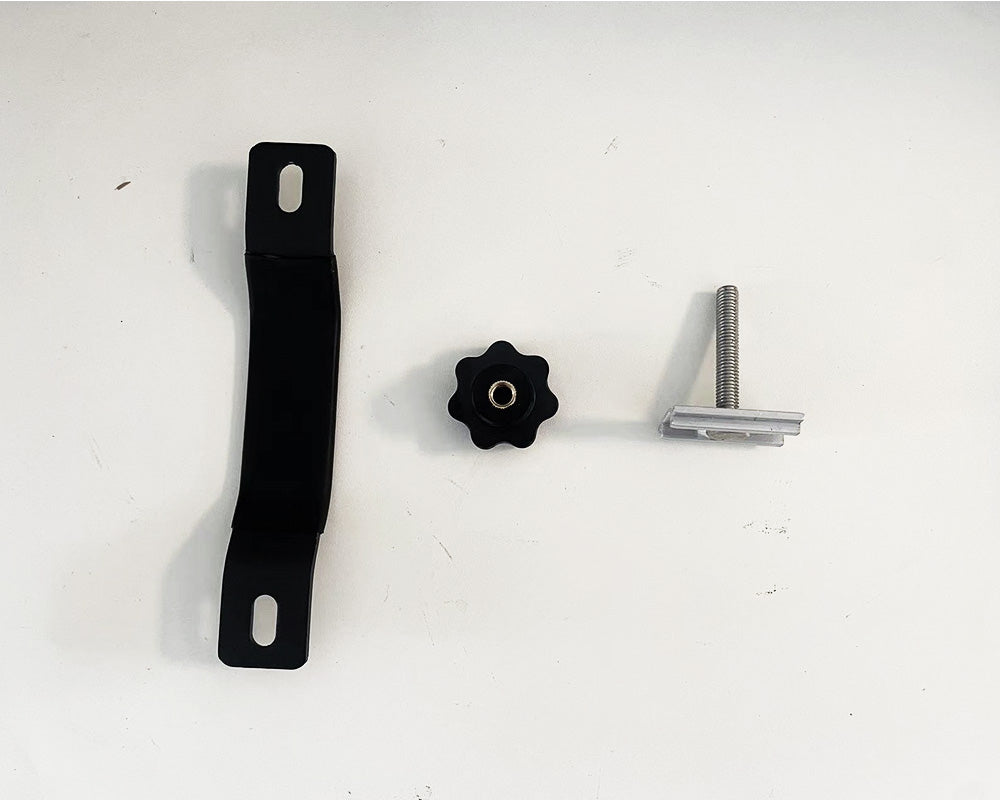
⑥ Insert M8 bolts
Insert a M8 bolt into a mounting plate (tracks facing up)
-
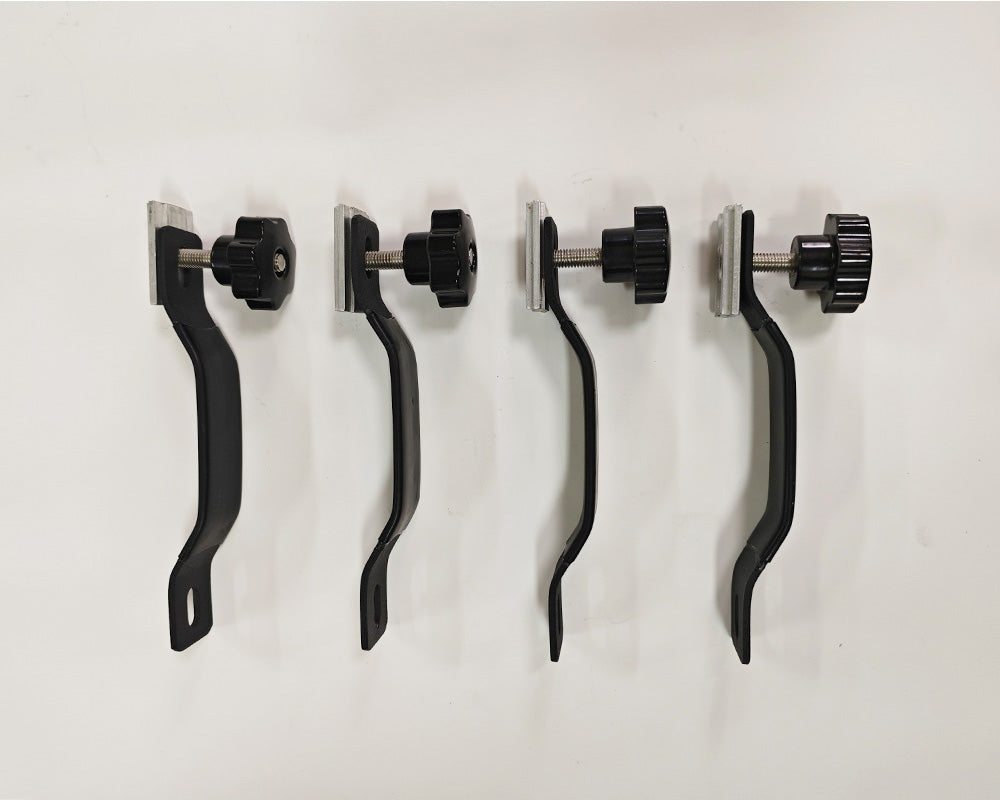
⑦ Connect the components together
Assemble the parts from step ⑥ by connecting them together. Make sure the U bracket is positioned with the concave side facing up. Then attach a black quick-release nut a little less than halfway. Repeat three more times.
-
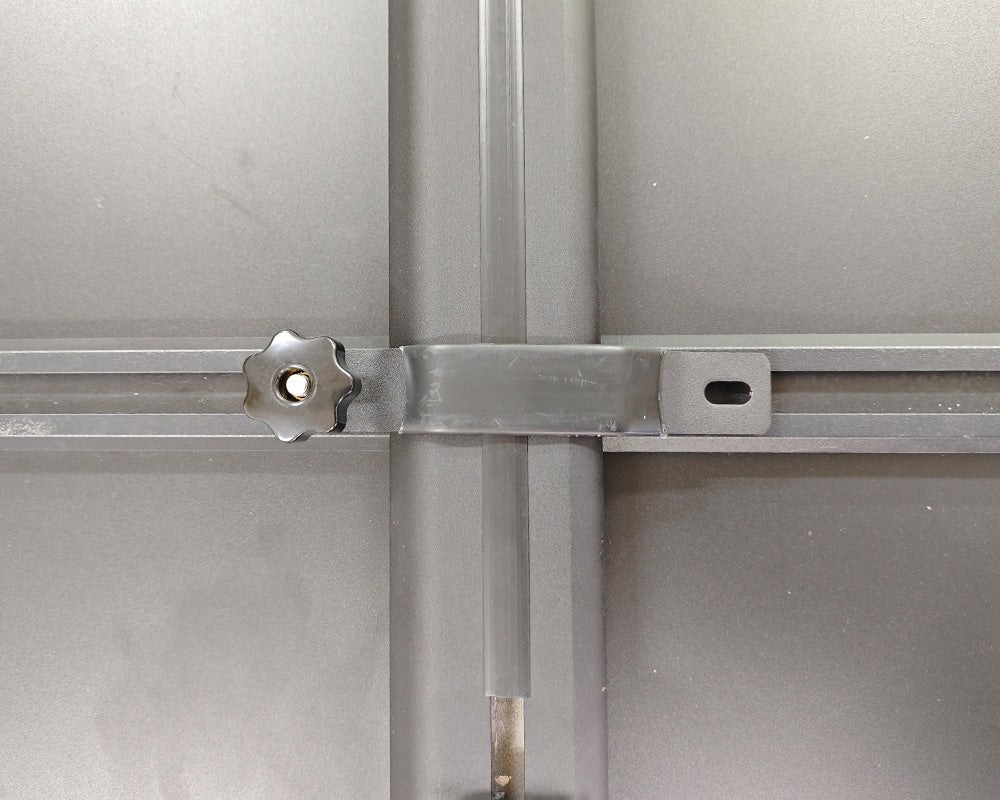
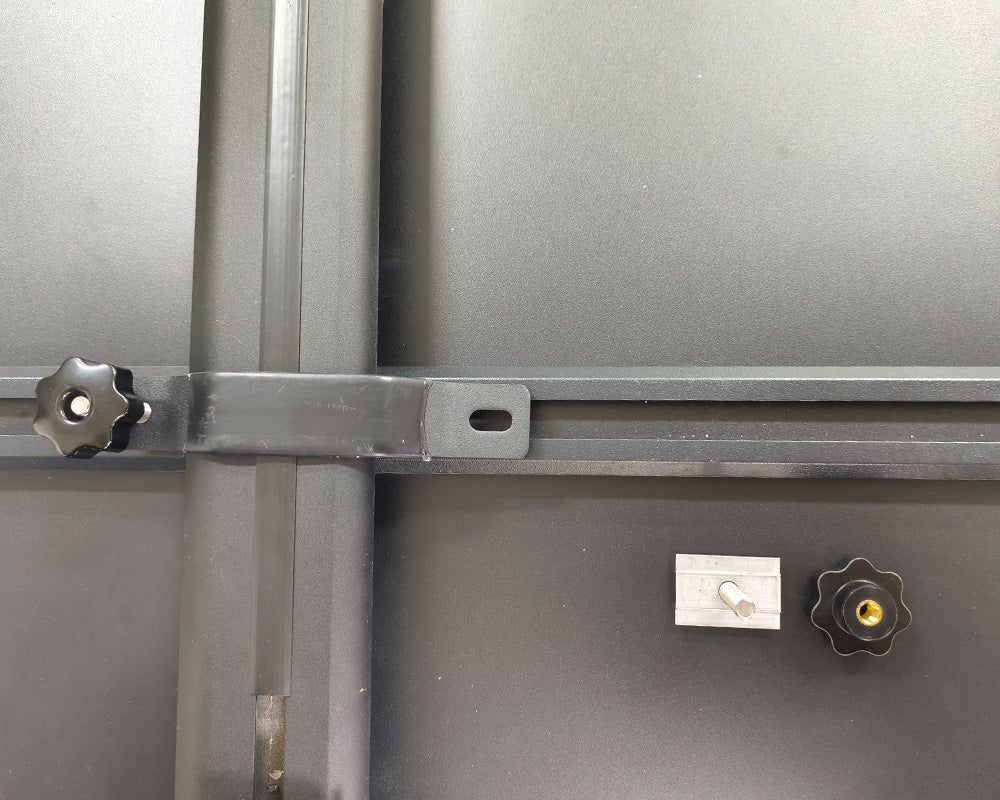
⑧ Slide four mounting sets into track
Ask a friend to help slightly lift the tent and slide four mounting sets onto the inner side of the roof rack. Repeat for each corner of the tent.
-
⑨ Insert M8 bolts again
Assemble the other four sets of M8 bolts and mounting plates (with tracks facing up) as well.
-
⑩ Prepare to slide the parts
Prepare four assembled M8 bolt sets and four black quick-release nuts.
-
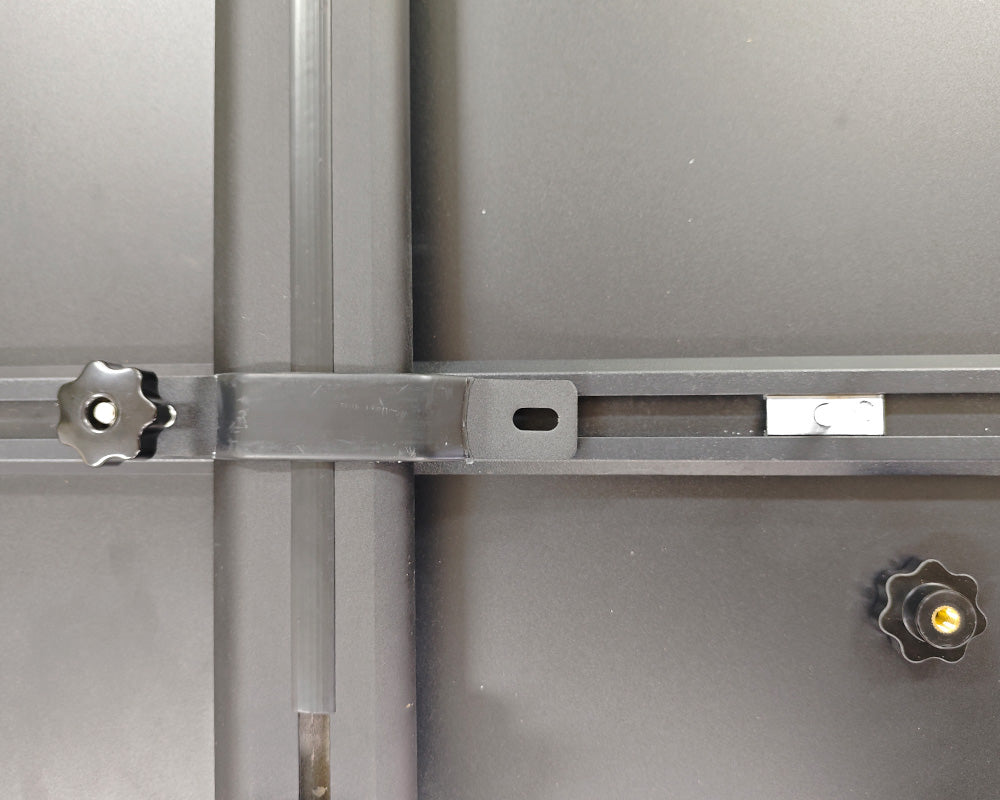
⑪ Slide four M8 bolt sets
Slide the assembled M8 bolts from step ⑨ into the track.
-
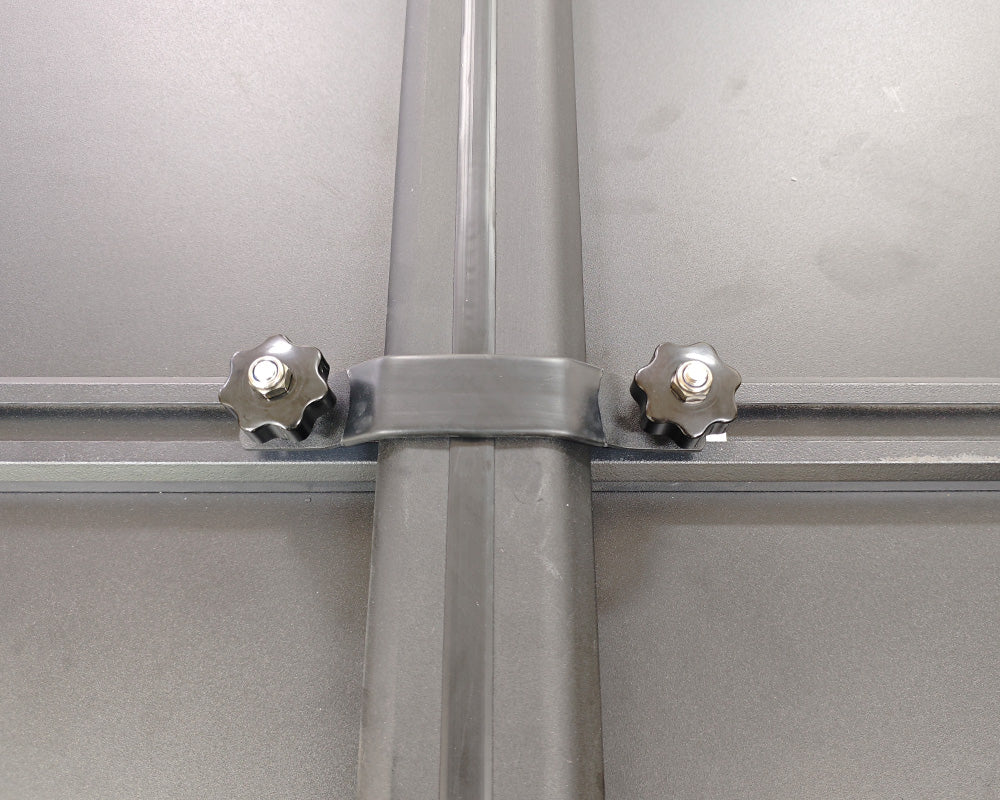
⑫ Finger-tighten a black quick-release nuts
• Finger-tighten a black quick-release nuts onto the M8 bolt. Repeat for all four corners.
• Tighten the nuts evenly and snuggly making sure that before you do a final tightening of the nuts that you have your tents lined up on your vehicle's roof exactly where you want it.
-
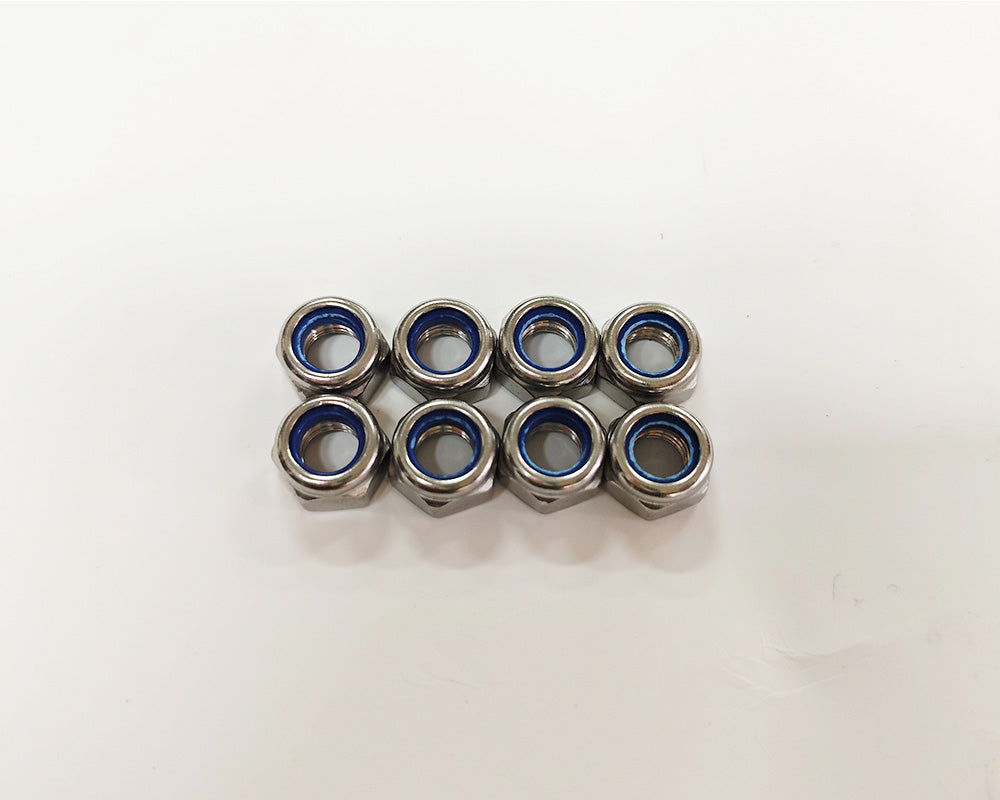
⑬ Prepare anti-slip nuts
Prepare eight anti-slip nuts.
-
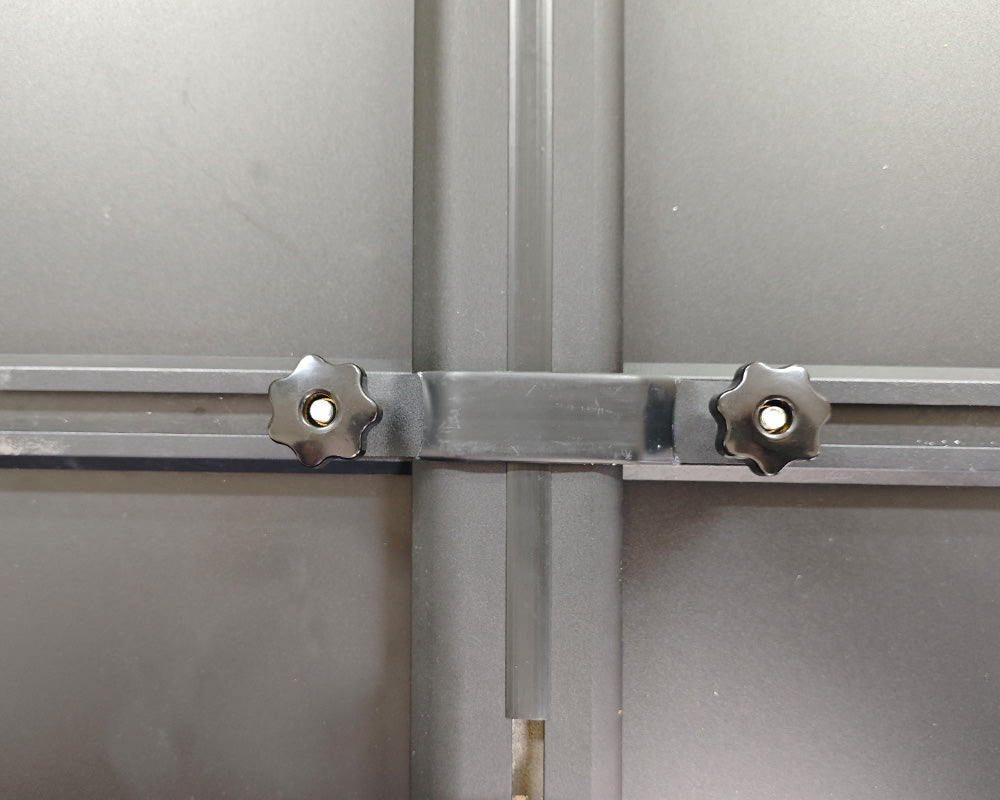
⑭ Secure anti-slip nuts
Fully secure both the black quick-release nuts and the anti-slip nuts (with the blue rubber ring) at the screw ends.
The black quick-release nuts are optional—if there isn’t enough space for both, the anti-slip nuts must still be installed for safety. -
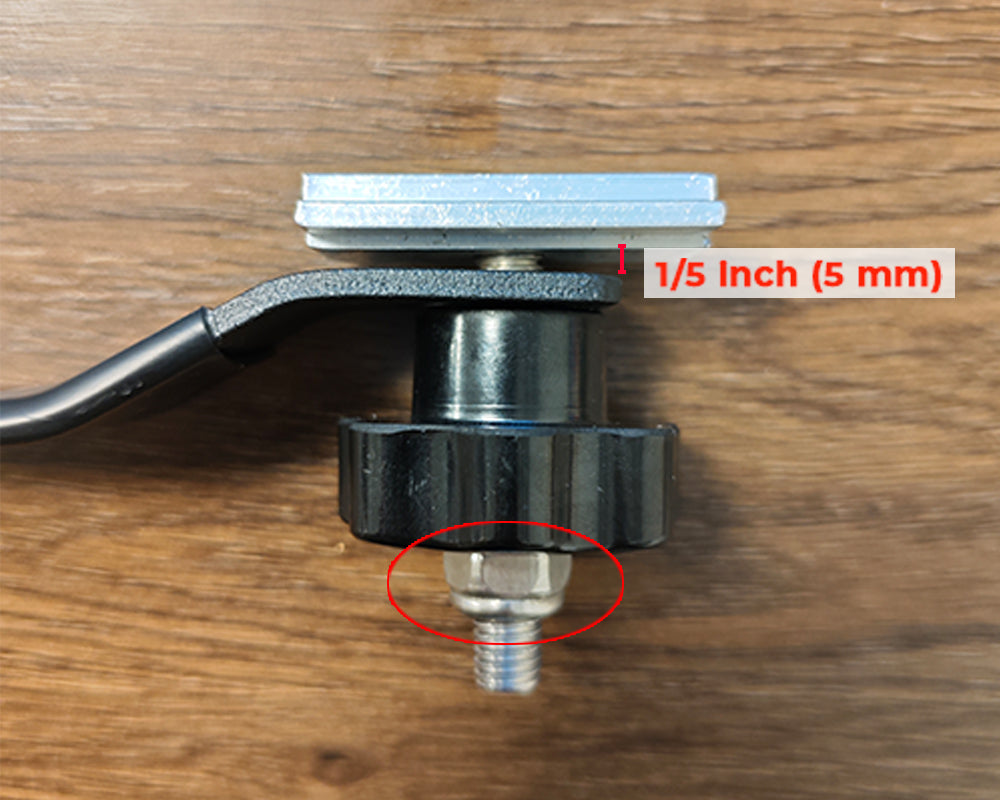
⑮ Nut Tightening Instructions
• After tightening all the nuts, if the clearance between the U-bracket and the T-slot is less than 1/5 inch (5 mm), please contact us for assistance.
• Regularly inspect and re-tighten all nuts before each trip, especially if the tent has been mounted for an extended period.
-

⑯ Prepare four end caps
Prepare four end caps of the roof rack.
-
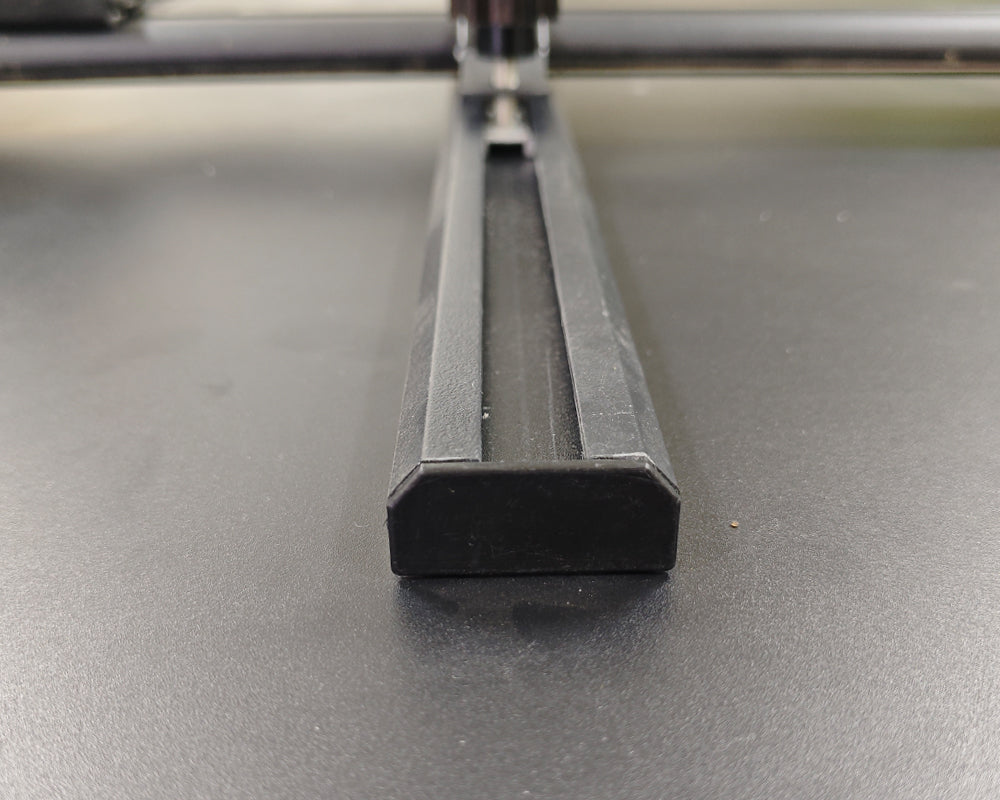
⑰ Install four end caps
Install caps on the ends of the roof rack. These caps not only keep out dust and sand but also help reduce wind noise while driving.


