TOPOAK
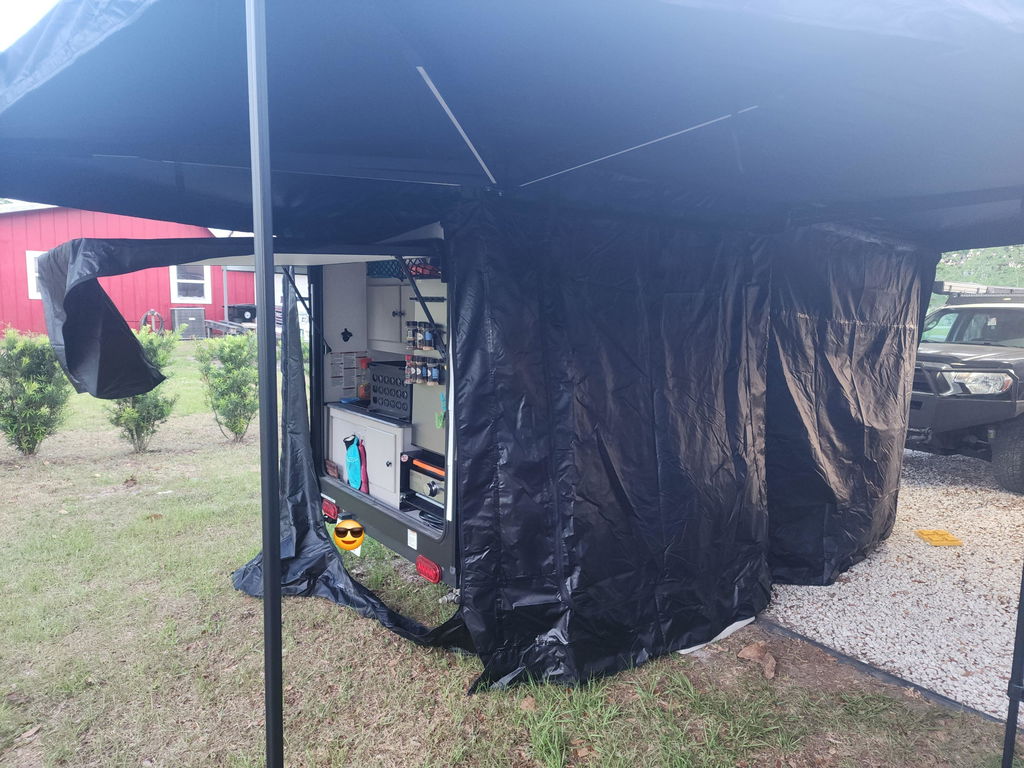
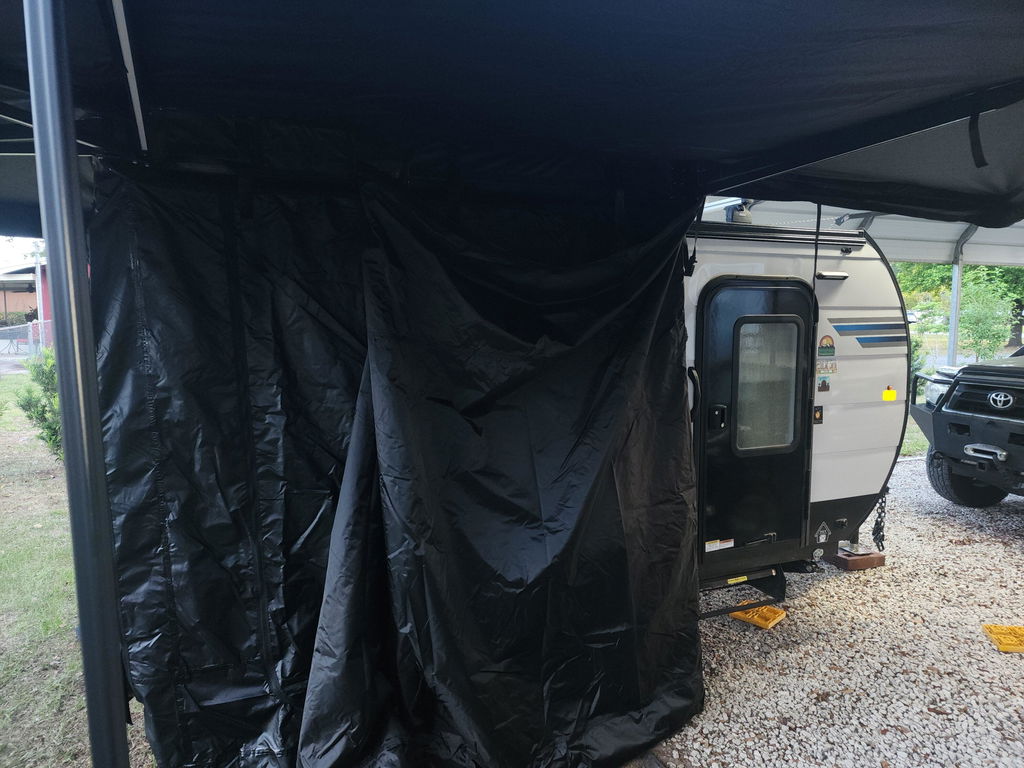
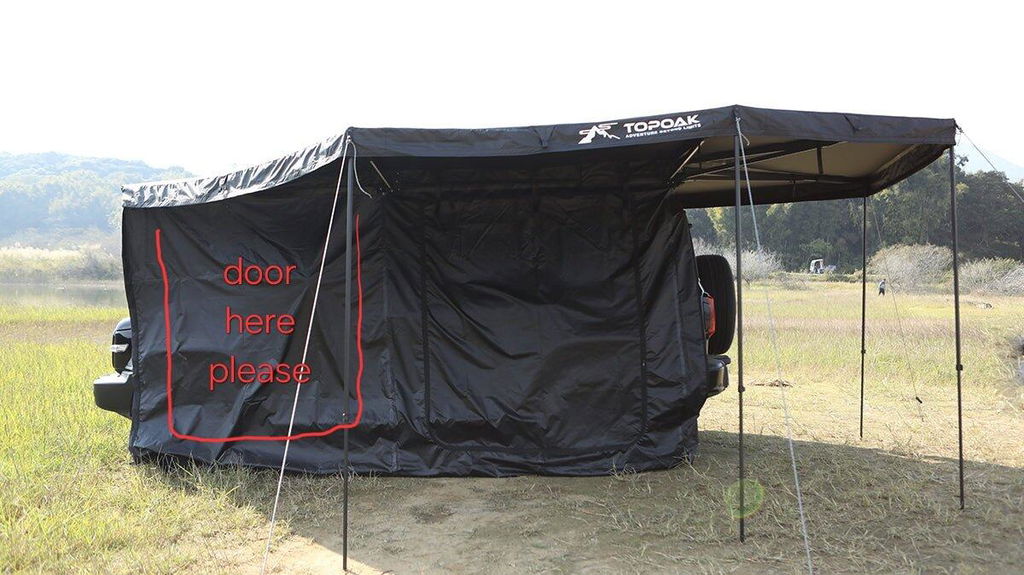
270-Grad-Markisenraum
270-Grad-Markisenraum
Tip: The 98" 270-degree awning cannot be mounted to the side rails of rooftop tents.
Verfügbarkeit für Abholungen konnte nicht geladen werden

Versand und Rücksendung
Versand und Rücksendung
Versand
Verfolgen Sie die Bestellung
Sobald Ihre Bestellung versandt wird, teilen wir Ihnen die Sendungsverfolgungsnummer mit. Dies dauert normalerweise etwa zwei Werktage.
Bitte beachten Sie, dass aufgrund der bevorstehenden Weihnachtsfeiertage eine erhöhte Nachfrage nach Versand besteht und sich die Lieferzeiten verzögern können.
Transportschäden
Jede Markise ist während des Versands versichert.
Finden Sie unsere Händler
Wir haben derzeit nur in Dubai einen Offline-Händler. Weitere Informationen finden Sie unter „Händlersuche“ .
Zurückkehren
Alle Artikel können innerhalb von 30 Tagen nach Erhalt zurückgegeben werden. Bevor Sie eine Rückgabe oder einen Umtausch beantragen, kontaktieren Sie uns bitte zunächst unter support@topoakoverland.com .
Sorgenfrei-Garantie
Sorgenfrei-Garantie
Sollten Sie bei der Nutzung unserer Produkte auf Probleme stoßen, kontaktieren Sie uns bitte unter support@topoakoverland.com. Wir bieten Ihnen Garantieleistungen und beantworten Ihre Anfrage innerhalb von 24 Stunden!
SPEZIFIKATION Abmessungen 84"×8"×11" Gewicht 64lbs (29 kg) Material 420D Ripstop Oxford-Gewebe mit schwarzer Beschichtung
DIMENSION
| Maße | 60 × 50 × 24 |
| Gewicht | 11 kg |
| Material | 420D Ripstop Oxford-Gewebe |
INSTALLATION



|
|

|
|
|
| Product | 83'' Wide Shade Awning Room | 98'' Extra-Wide Shade Awning Room | 83'' Wide Shade Awning Walls | 98'' Extra-Wide Shade Awning Walls |
| Price | $1048-$1158 | $1308-$1418 | $399-$509 | $459-$569 |
| Includes | Awning + Walls | Awning + Walls | Walls Only | Walls Only |
| Best For | Light & Practical Shade | Expanded Camp Coverage | Light & Practical Coverage | Expanded Enclosed Coverage |
| Camp Space | Designed for a clean, balanced shade footprint that keeps your vehicle-side setup open, uncluttered, and naturally integrated with your camp. | Designed to extend your shaded area around the vehicle, creating a broader covered space for a more complete basecamp feel. | Designed to add practical side protection while keeping your awning setup clean, balanced, and uncluttered. | Designed to create a wider enclosed outdoor area, adding more covered protection around your vehicle-side setup. |
| Awning Packed Size | 84" × 8" × 11" | 102.8" × 9.4" × 11.8" | 84" × 8" × 11" | 102.8" × 9.4" × 11.8" |
| Net Weight | 103.2 lbs (with floor mat) | 117.04 lbs (with floor mat) | 35.8 lbs (with floor mat) | 42.9 lbs (with floor mat) |
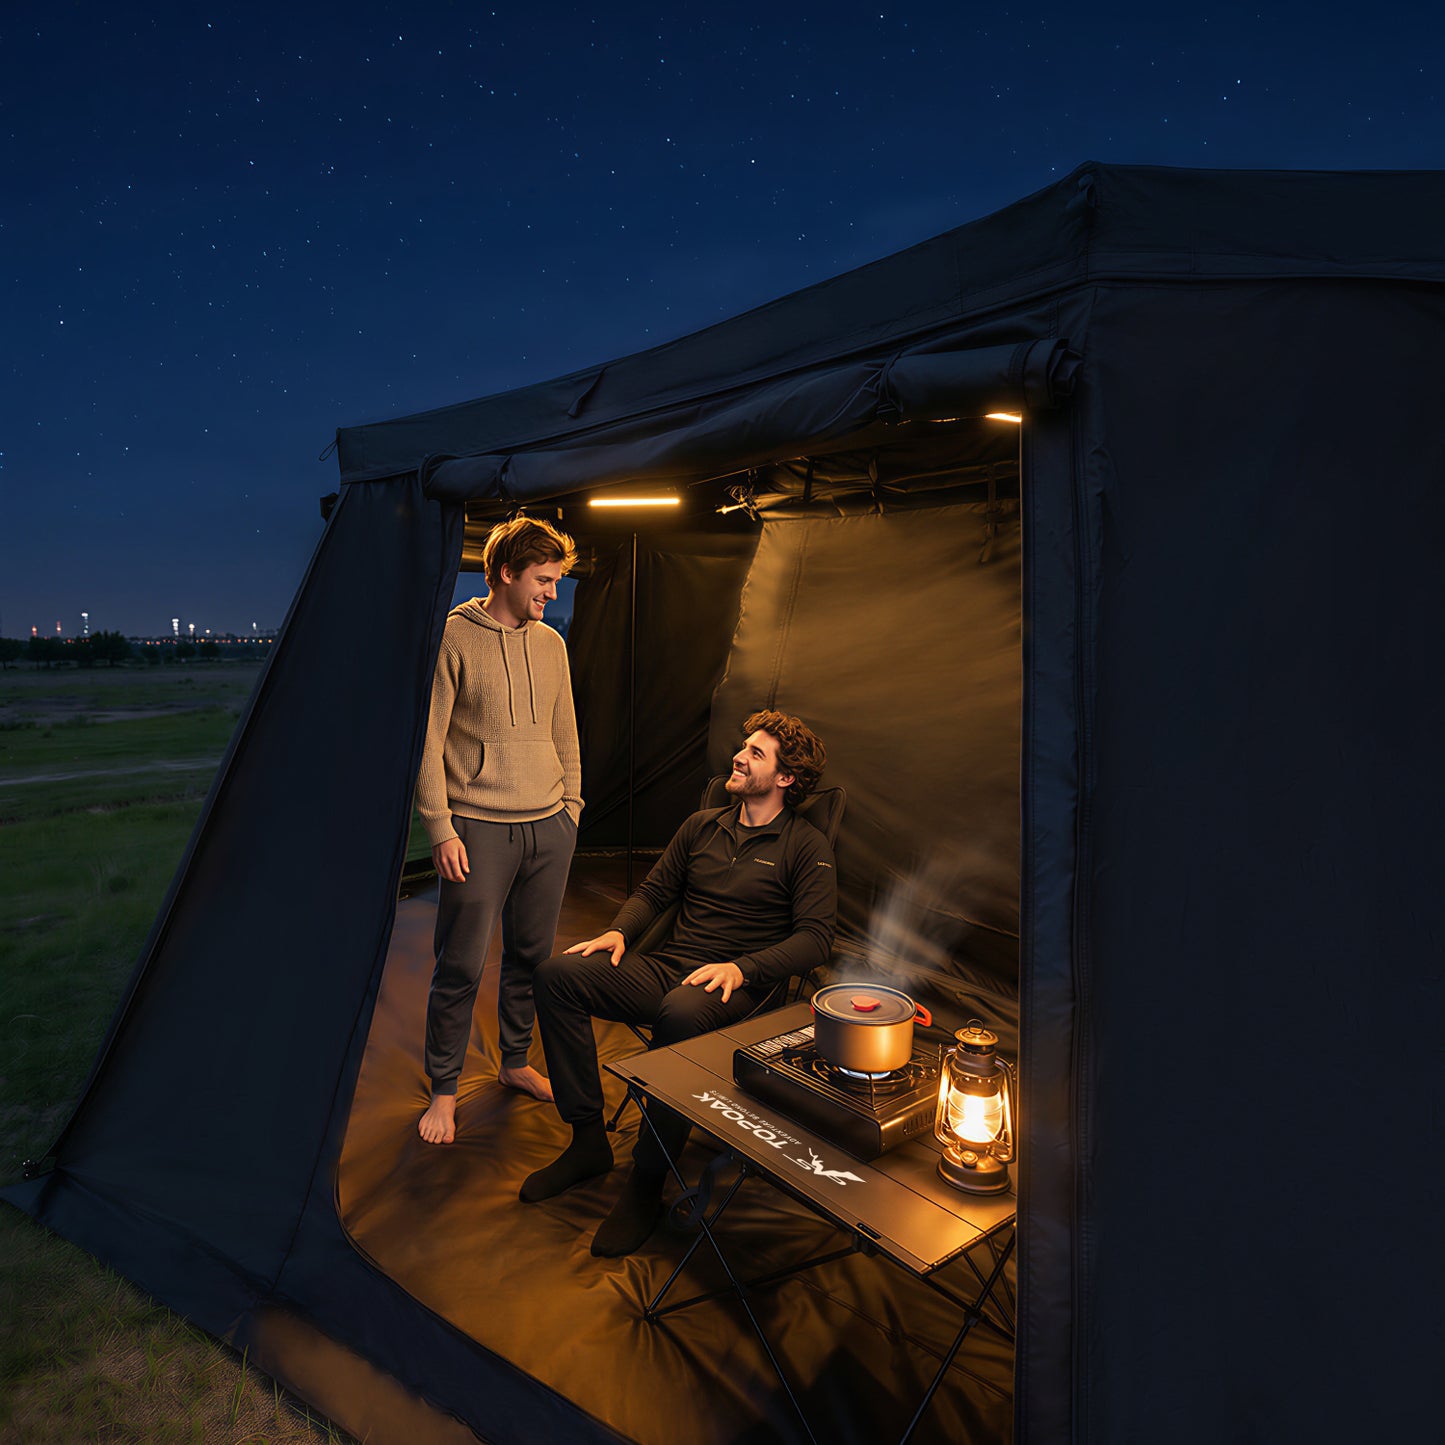
| Shared Features | 270° vehicle-side coverage, UV & heat protection, built-in LED lighting, weather-resistant waterproof ripstop fabric with blackout coating. | |||
Installation Guide